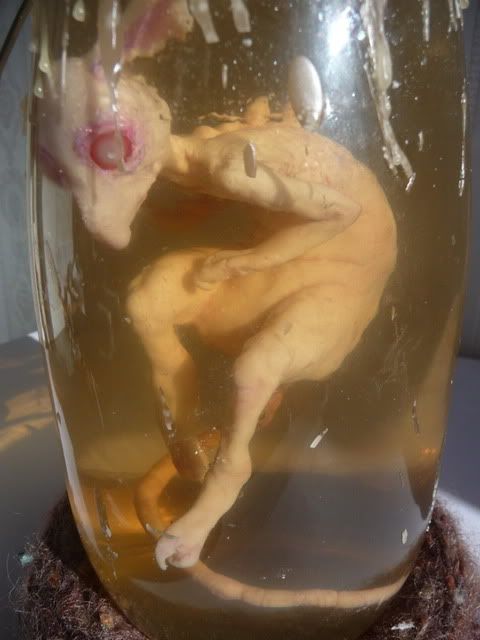
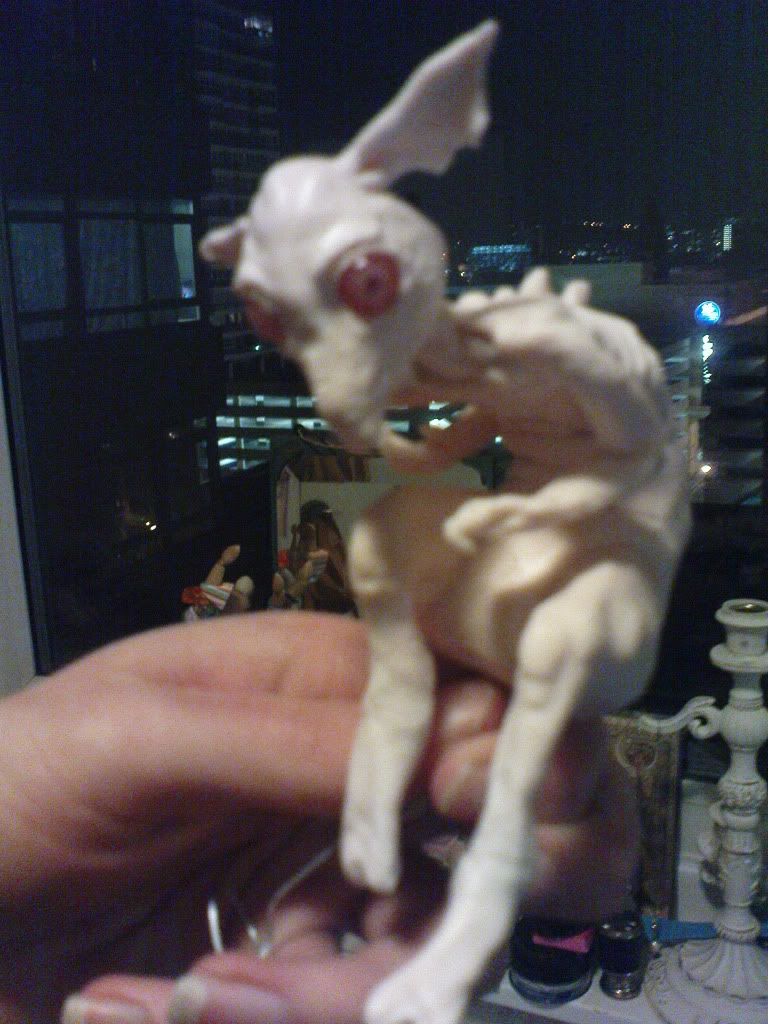
I think it's about time I gave some blog-lovin' to my most recent forray into sculpture, affectionately named Clarence, who I spent hours and hours of my life painstakingly creating, and whom I love like a child. Unfortunately, he gets looks of horror and disgust from Normal People, perhaps it is because he looks like this:
I feel sad for him because noone else thinks he is adorable. :(
Anyway, his purpose was to support the project I developed in response to the final (and scariest) part of my Illustration degree: the exam brief. Inspired by P. T. Barnum, I made a hoax blog where I pretended (using illustrations, embarrassingly bad video diaries and doctored photos) to discover a colony of strangely humanoid pixie-rodent-things. Whatever Clarence is, that's what I 'discovered'.
I had enough foresight to take a bunch of photos as I progressed, so continue reading to find out how I got from sketch to thing-in-a-jar.
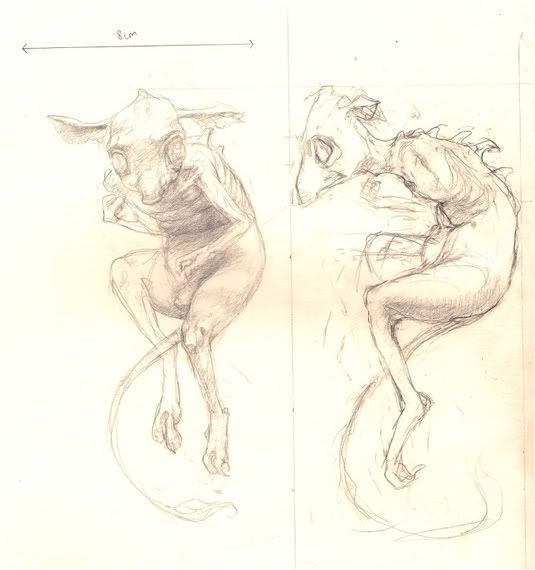
Right, so here's my final to-scale sketch. this is the result of many hours of staring at stuffed rodents in the Natural History Museum, combined perhaps with some unconscious house-elf influence..!
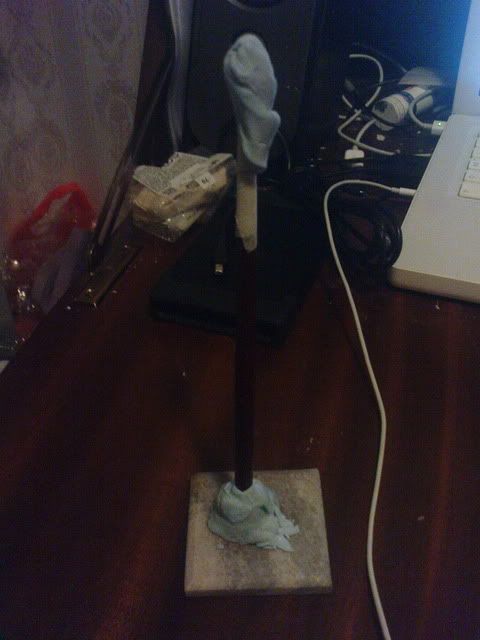
So with that decided, I needed materials. I had miraculously found an unopened set of metal wax-carving tools for the ridiculously low price of £2 at the Saturday flea market in Brighton (I LOVE LIVING THERE), got me some peach-toned Fimo (polymer clay), and.. completely forgot about the small detail of needing a stand to put the sculpture on while I worked on it. Whoops.
For the lulz, here is what I improvised in. Kirsty Allsopp would be proud.
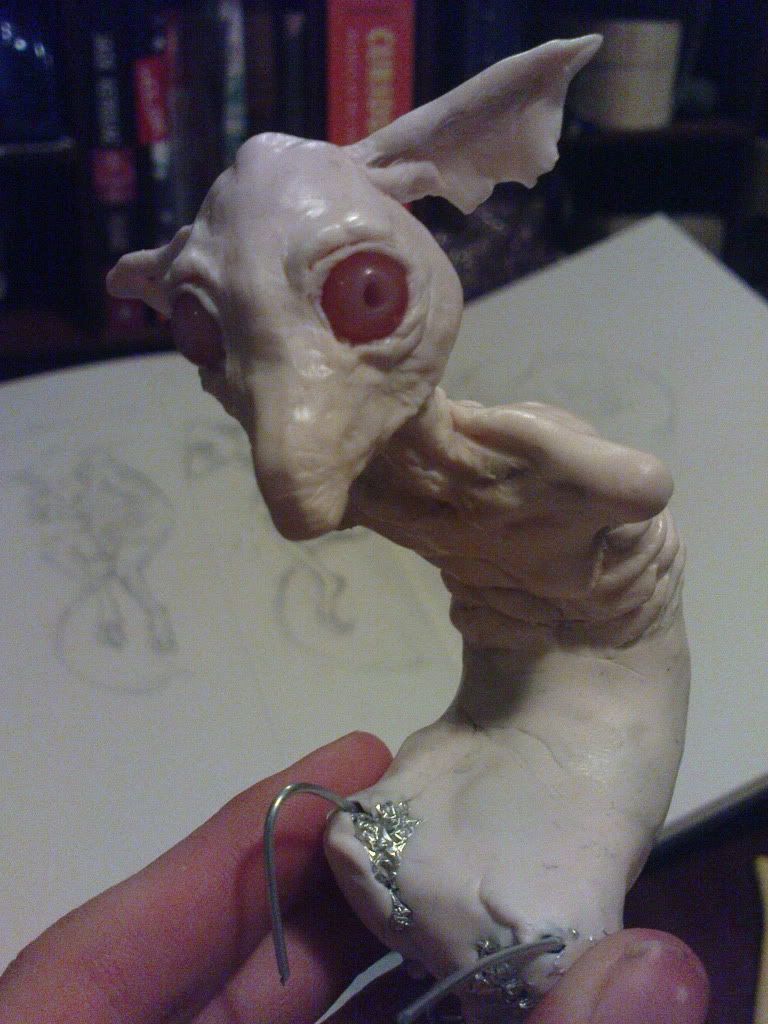
And we're off! I used 1.5mm wire to form the basic armature, around which I wrapped aluminium foil to bulk out Clarence's form. On went the Fimo over the top, and I got busy sculpting his little face, using beads for eyes (I had to sacrifice a bracelet for this :/)

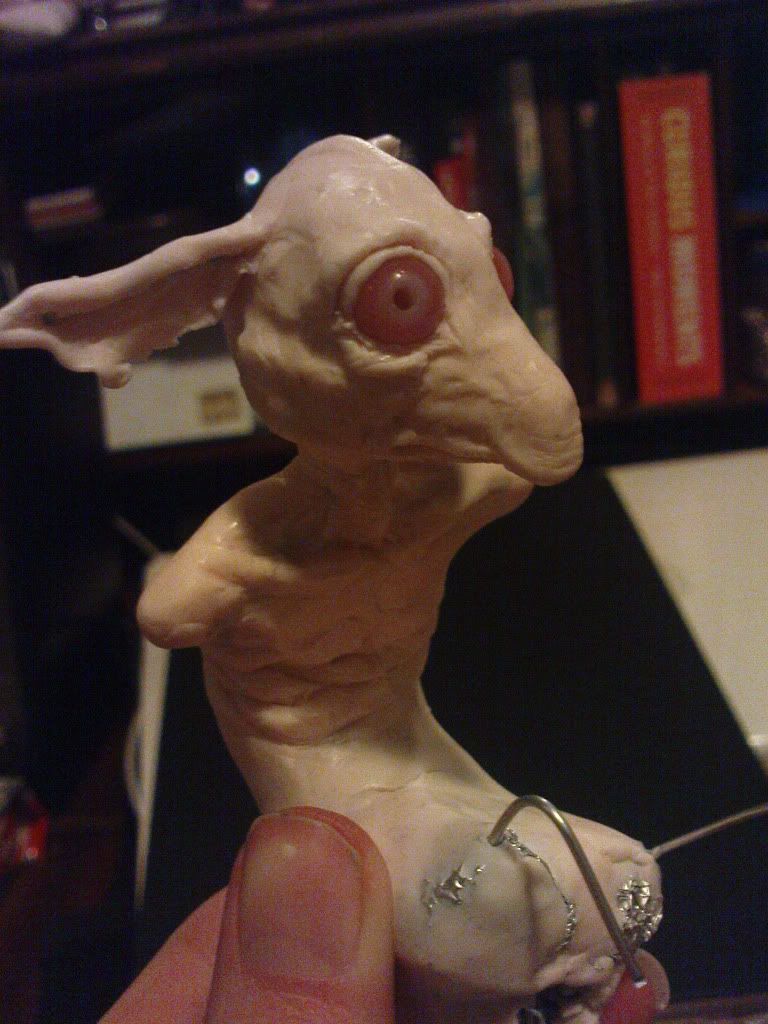
Began to bulk out the form of his body..
With added stumpy thighs.. Rodents do generally have more bulky hindquarters, and I exaggerated this to give him a more interesting silhouette.
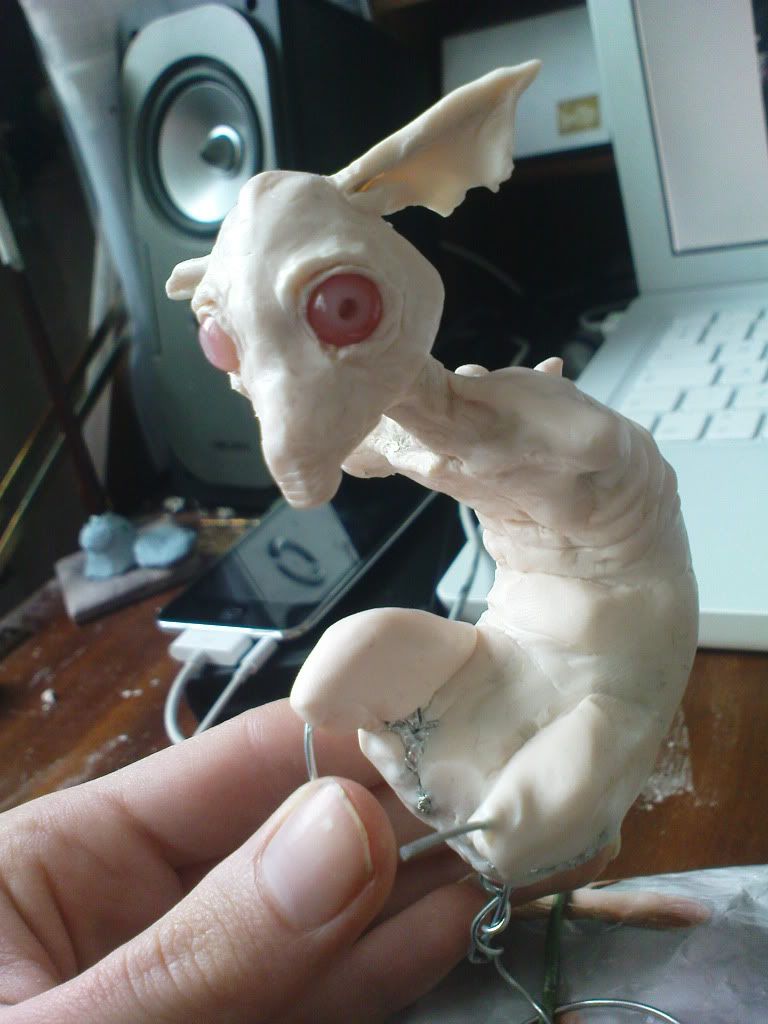
Notice also that I have done away with the ridiculous makeshift stand. He was getting too heavy and it kept falling over. I decided I'd rather risk fingersmushes than potential damage & fluff bath caused by unexpected launch of Clarence onto the floor.
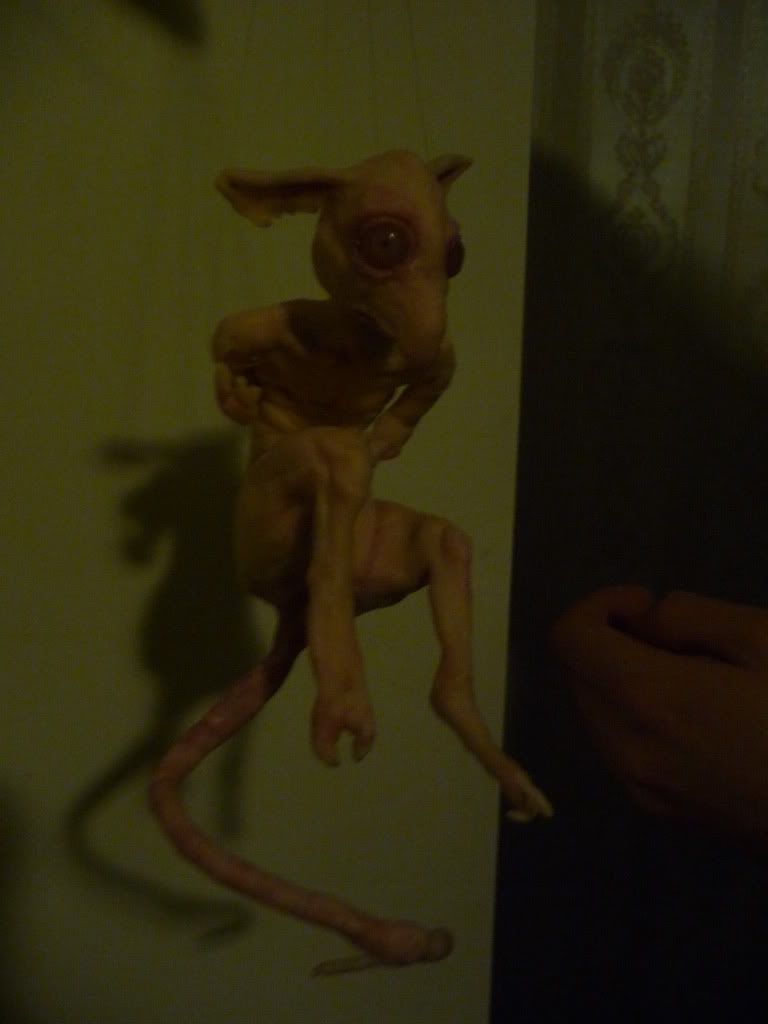
This did slow me down and it was pretty late by the time I managed to affix his limbs. Apologies for the lack of focus in the following photo, my camera *coughcoughphone* was refusing to play nice.
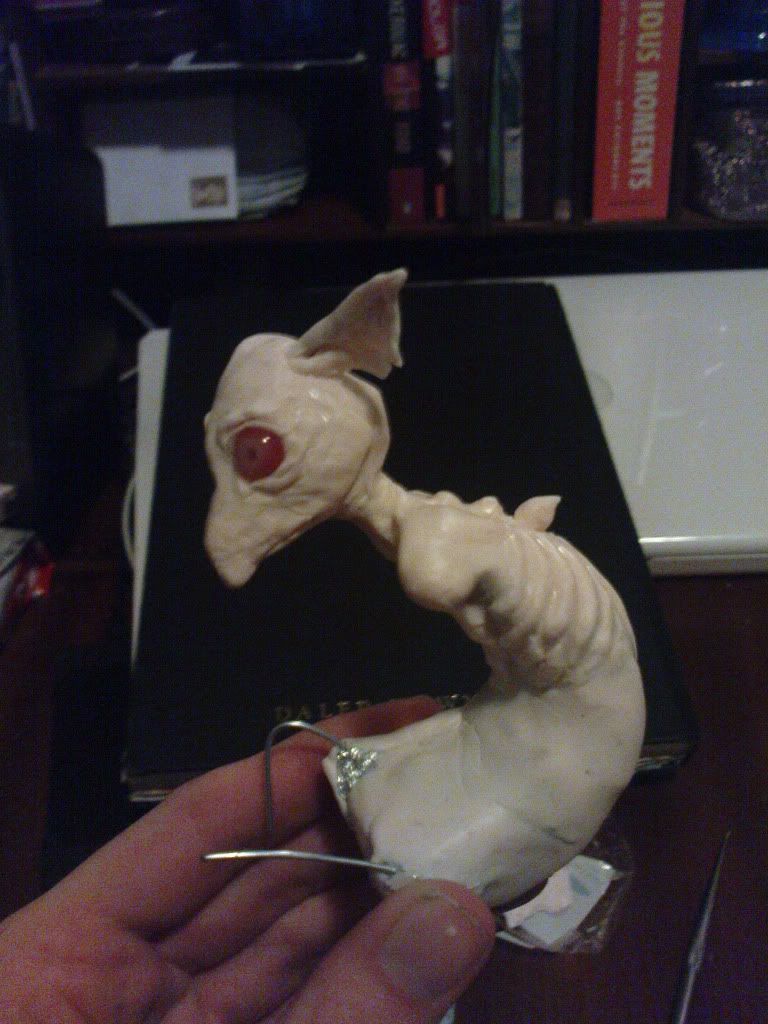
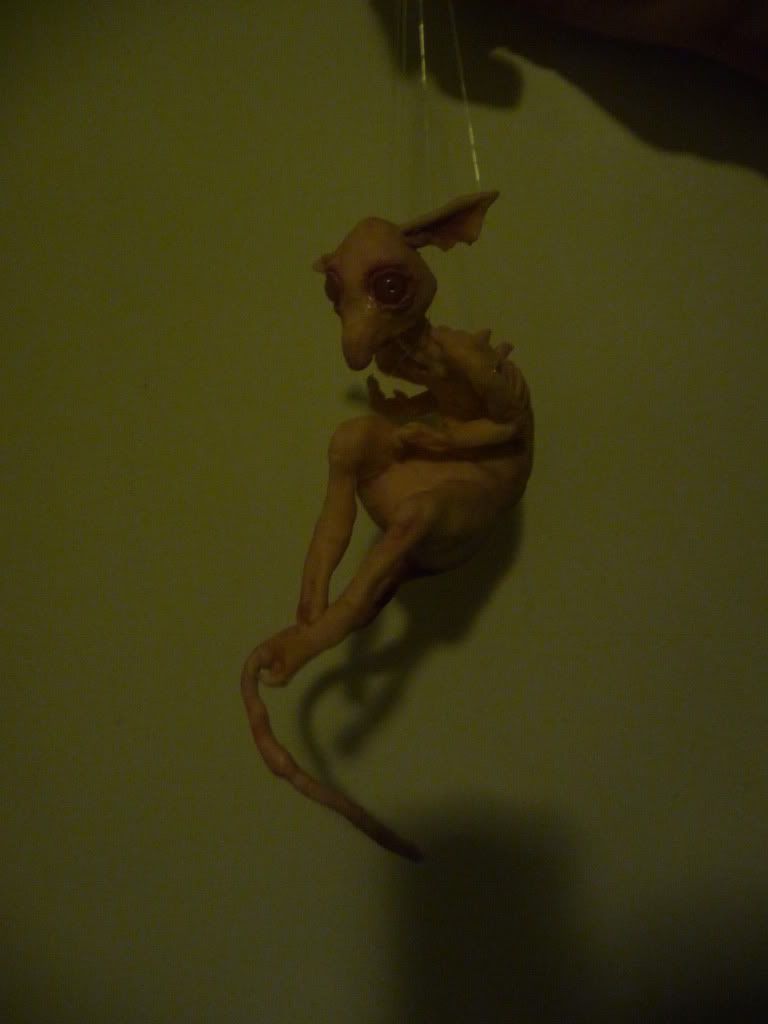
So the last remaining element, the TAIL, went on without major issues.
Fun fact: I gave the tail some light texture by taking a long hair from my head and wrapping it round the clay tightly enough to cause a slight indentation. It seemed to give the tail a more sinuous, naturalistically lumpy appearance.

He looks quite happy there, with my strange fabric doll-thing and assorted junk. I stuck him in the oven (low temperature of 110 deg) and paced around nervously for about 25 minutes, expecting something horrible to happen. Fortunately he was perfect, apart from the fact I'd balanced him on his back and his own weight had kind of flattened it. But never mind, NEXT TIME I WILL USE A PROPER STAND.
Now he was hardened and (slightly) more resilient, I could paint him and make him look less waxy model, more light-starved mutant rodent.
Oh yeah, I also glazed his eye area, nose, claws and tail, except I used PVA glue because I didn't have varnish and I had taken leave of my senses.
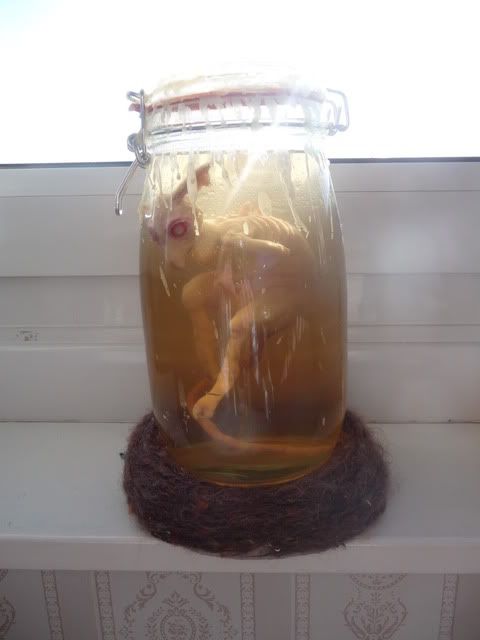
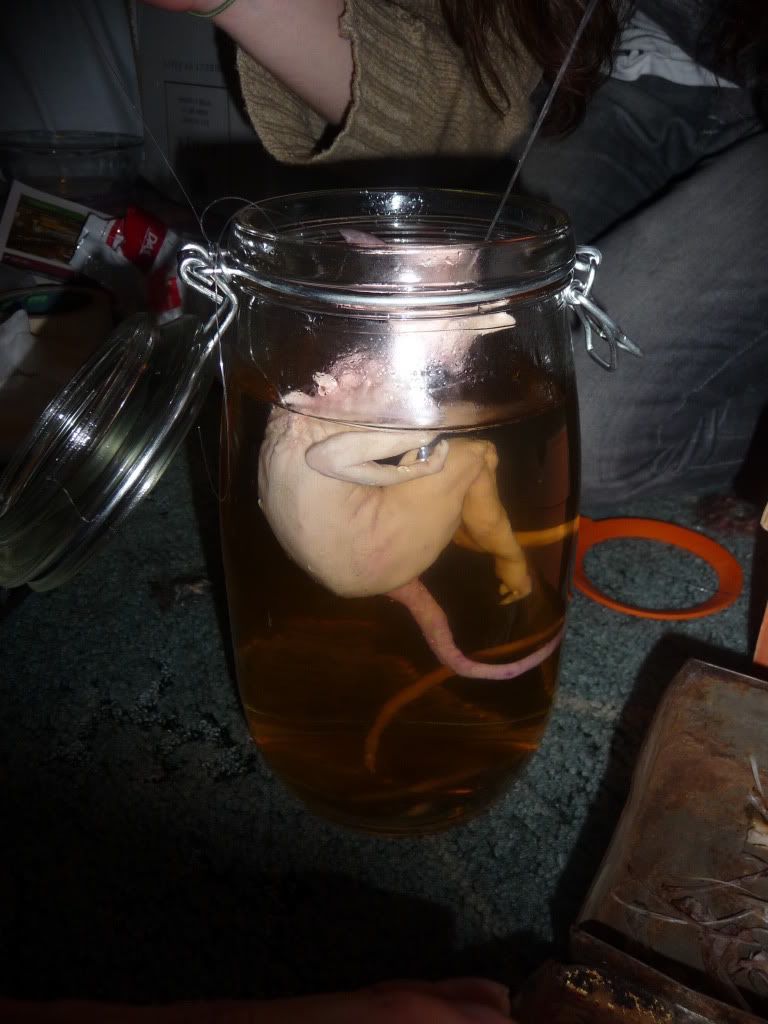
And now (drumroll, please) for the DUNKING!! I had prepared a jar full of mock 'preservative' (noxious cocktail of orange squash, instant coffee, olive oil, a bit of watercolour pigment and lots of water) and my flatmates came to record the moment/offer moral support if he suddenly dissolved in the weird mixture.
You can also see here that I lost patience with the traditional brush method of paint application and just used my fingers..

Poor little guy.
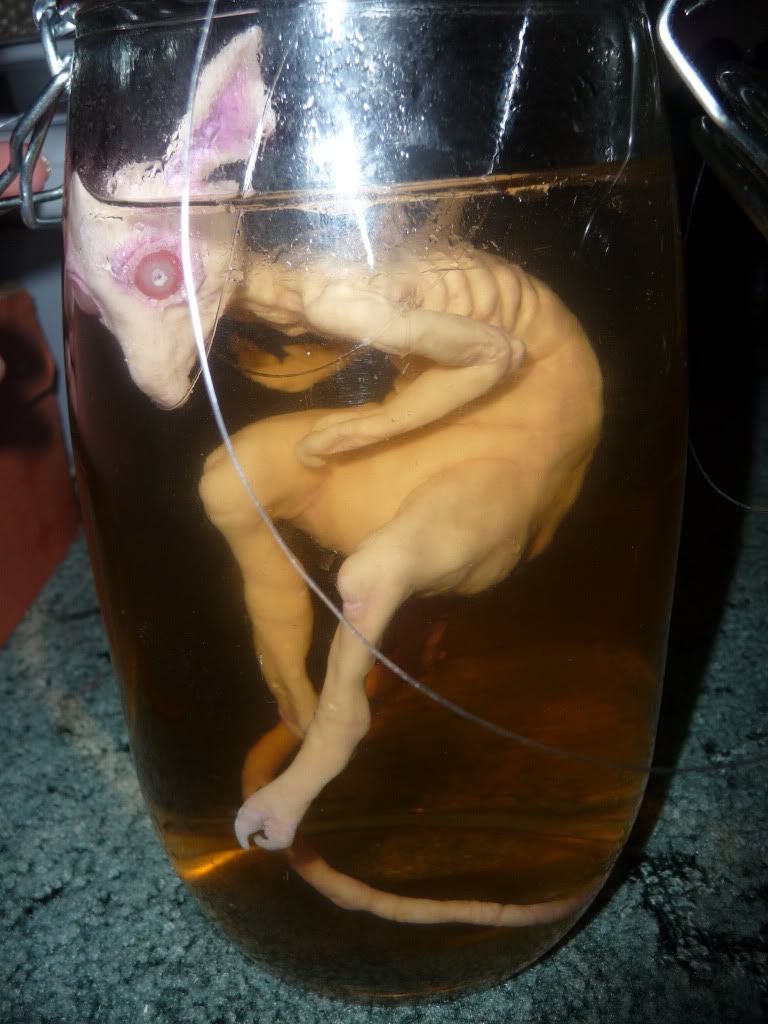
And there you have it!
He was just the right size for his tail to support him in the middle of the jar and, although he didn't dissolve in the mixture or anything, the PVA I used as 'glaze' reacted badly and turned white in the centre of the beads- annoying because I had intended them to look like pupils.
What I learnt for next time:
1. GET A PROPER, ROBUST STAND.
2. Don't use PVA glue as varnish.
3. Fluff is a nightmare to get out of fimo. Sculpt in a scrupulously clean environment!
4. Don't stay up all night sculpting. It's not good for the mental health.
luuucy i love this so much. you're deffs a better writer than me, you should proply do this blog proply!
ReplyDeletemy thoughts innit:
1) the pva glue making the beads white is a great effect! makes his eyes mega creepy
2)i had no idea how much work this took! youre amazing!
3) 'strange fabric-doll' a good pairing i think :)
4) 'Don't stay up all night sculpting. It's not good for the mental health' <3
and thus endeth my deeeep erudite analysis. much love you amazing artist.
xxxx
This is absolutely breathtaking, you've definitely inspired me to try my hand at bigger sculptures with fimo.
ReplyDelete